CentOS 9 网卡配置(NetworkManger)
转载文章:https://blog.csdn.net/qingqiuxm/article/details/127792104
前言:
由于 rocky9/centos stream 9 使用了新网络设置方式,弃用了原本的 network,而是使用新的 NetworkManager,所以相比 centos7,8 设置有所不同。
本人所知 rock9 和 centos stream 9 修改网卡方法一致可以参考!
实操:
当前环境
1 | cat /etc/redhat-release |

NetworkManager 网卡的配置目录
1 | /etc/NetworkManager/system-connections/ |
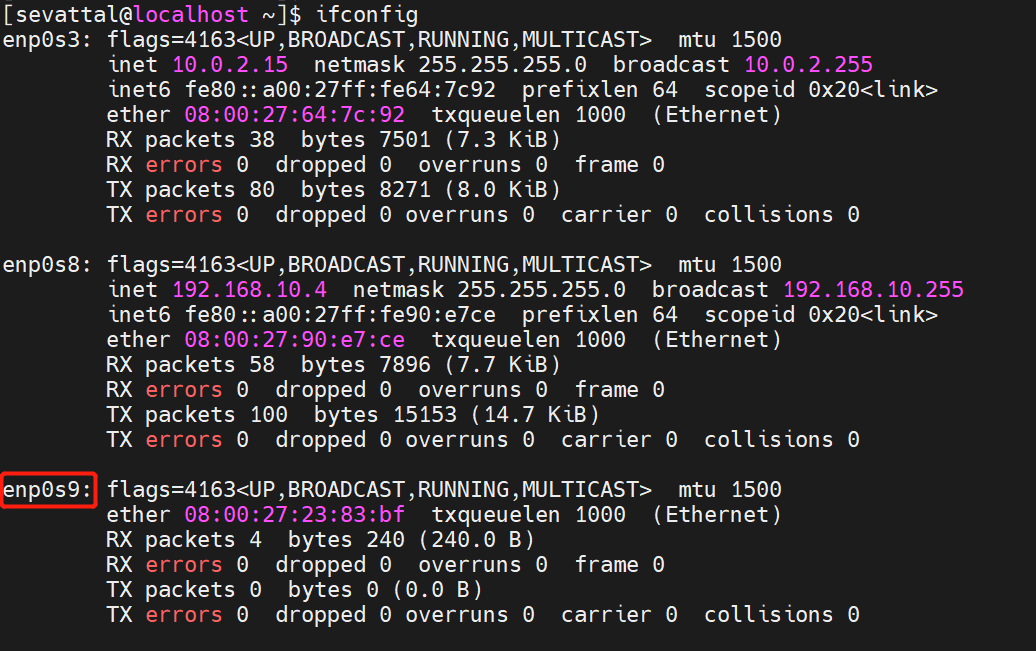
由于我们新加入的网卡没有启动,所以在 nmcli 中看不到对应的 UUID 信息

**使用 uuidgen 命令获取网卡 UUID **
1 | uuidgen enp0s9 |

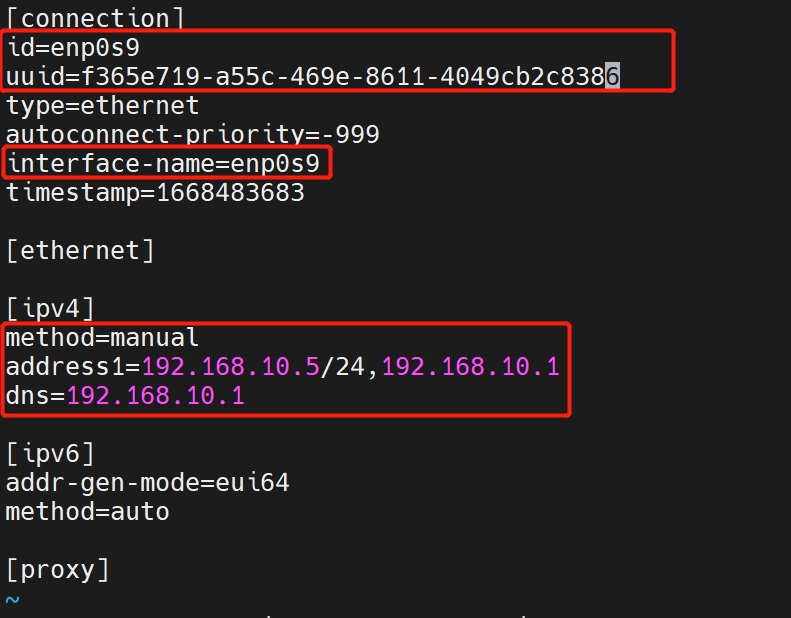
复制配置文件,进行编写
1 | cp enp0s8.nmconnection enp0s9.nmconnection |

1 | vim enp0s9.nmconnection |
1 | [connection] |
重启网卡
1 | nmcli connection reload |

查看 ip
1 | ip a |

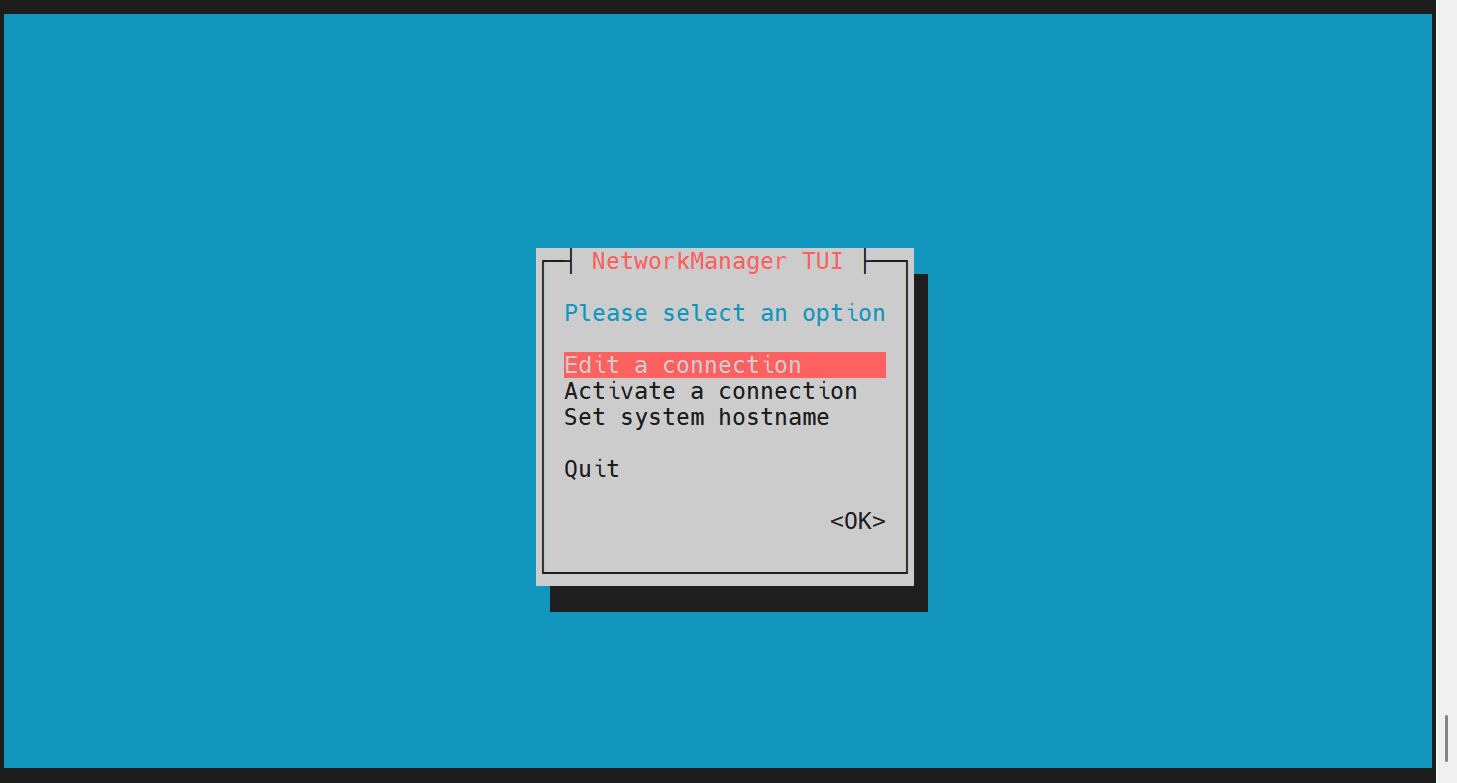
nmtui 图形化的方式配置
命令行输入
1 | nmtui |
附:其他 nmcli 命令说明
1 | nmcli con modify 'ens160' ifname ens160 ipv4.method manual ipv4.addresses 10.10.10.10/24 gw4 10.10.10.254 |